After uploading a fillable PDF into PDF Forms - Reverse Mapping, the next step is to map each field so information submitted by the user is written back into the appropriate record in Momentum AMS. This article explains how to map standard fields, custom fields, and repeating sections such as drivers and vehicles.
Accessing Reverse PDF Forms
To access your Reverse PDF Forms:
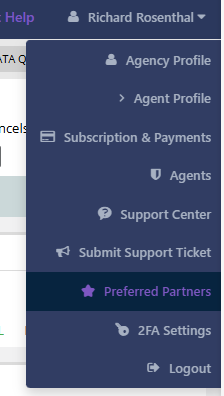
- Click your name in the upper-right corner of Momentum AMS.
- Select Agency Profile.
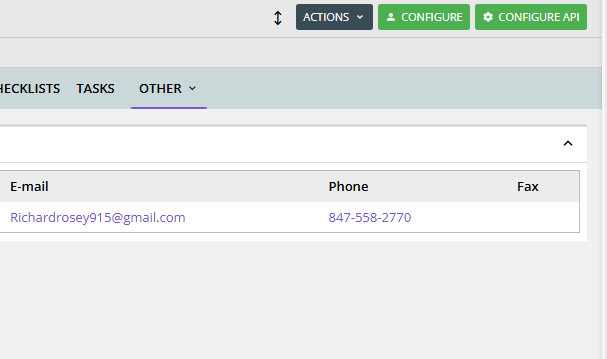
- Select the Other tab.
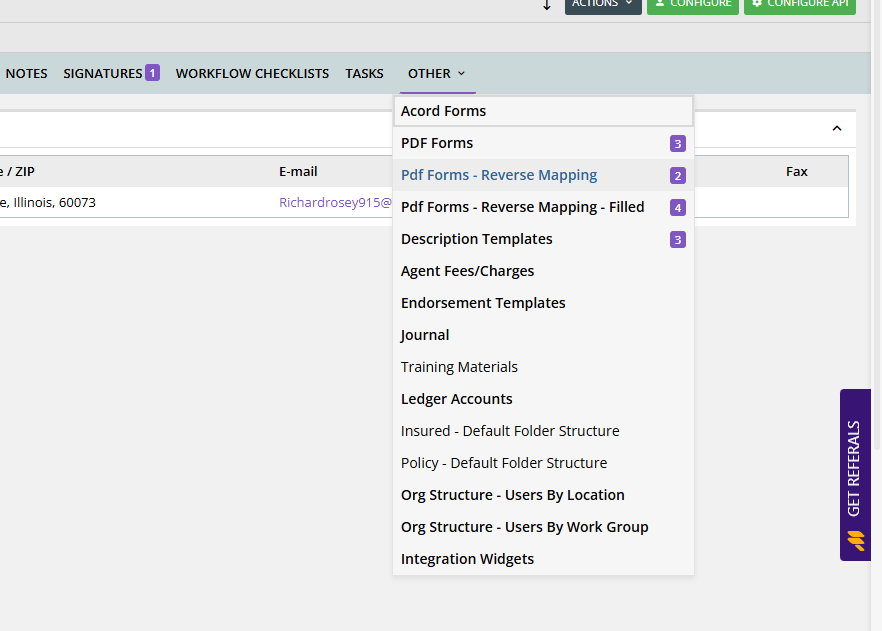
- Click PDF Forms - Reverse Mapping.
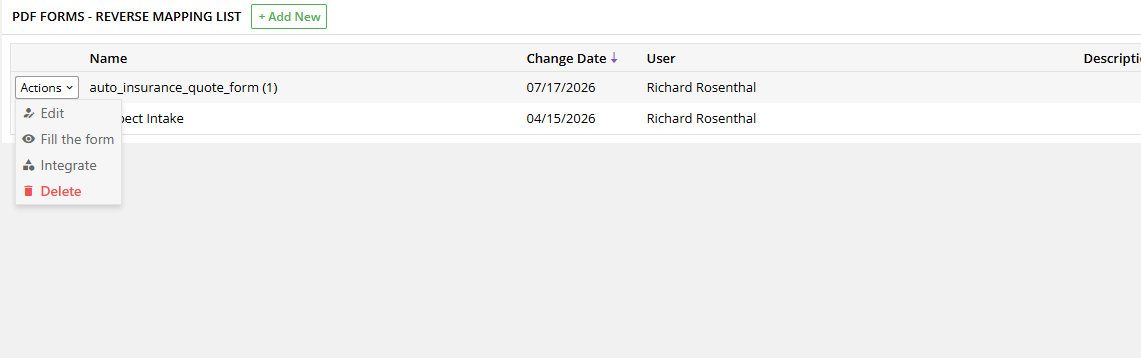
Locate the form you wish to map.
Editing a Reverse PDF Form
- Locate the desired form.
- Click Actions.
- Select Edit.
If you have not yet uploaded your PDF, upload it first before attempting to map any fields.
Mapping Standard Fields
To map a field:
- Click the field on the PDF.
- Select the data source.
Available data sources include:
- Prospect
- Insured
- Policy Quote
- Custom Fields
After selecting the data source:
- Choose the appropriate field.
- Click OK.
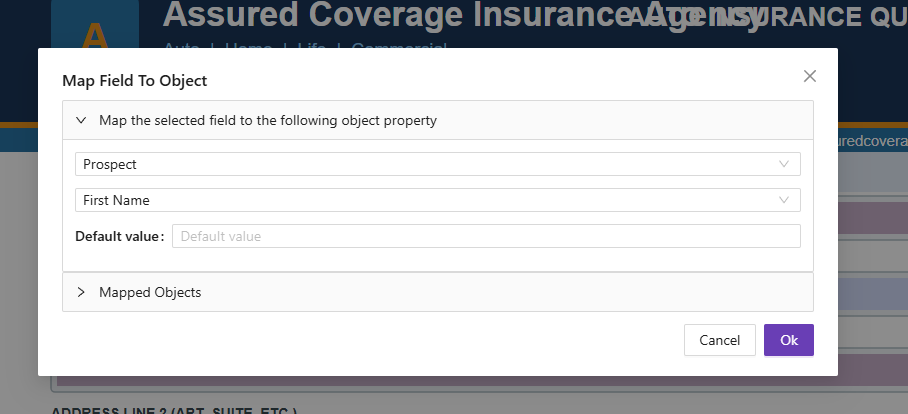
When successfully mapped, the field changes from light blue to purple.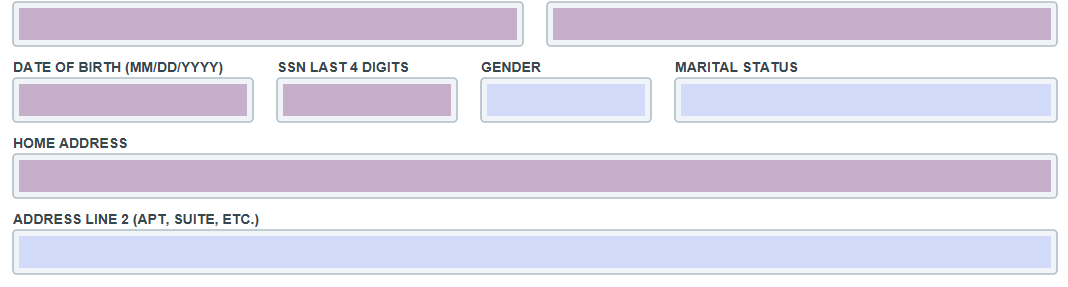
Continue until all standard fields have been mapped.
Mapping Best Practices
When mapping personal information such as:
- First Name
- Last Name
- Date of Birth
- Phone Number
- Email Address
remain consistent throughout the form.
For example:
✔ Prospect → First Name
✔ Prospect → Last Name
✔ Prospect → Date of Birth
Avoid mixing Prospect and Insured mappings unless the form specifically requires it.
Mapping Indexed Fields (Drivers & Vehicles)
Driver and vehicle information uses indexed records.
This allows multiple drivers or vehicles to be created from a single submission.
For example:
Driver 1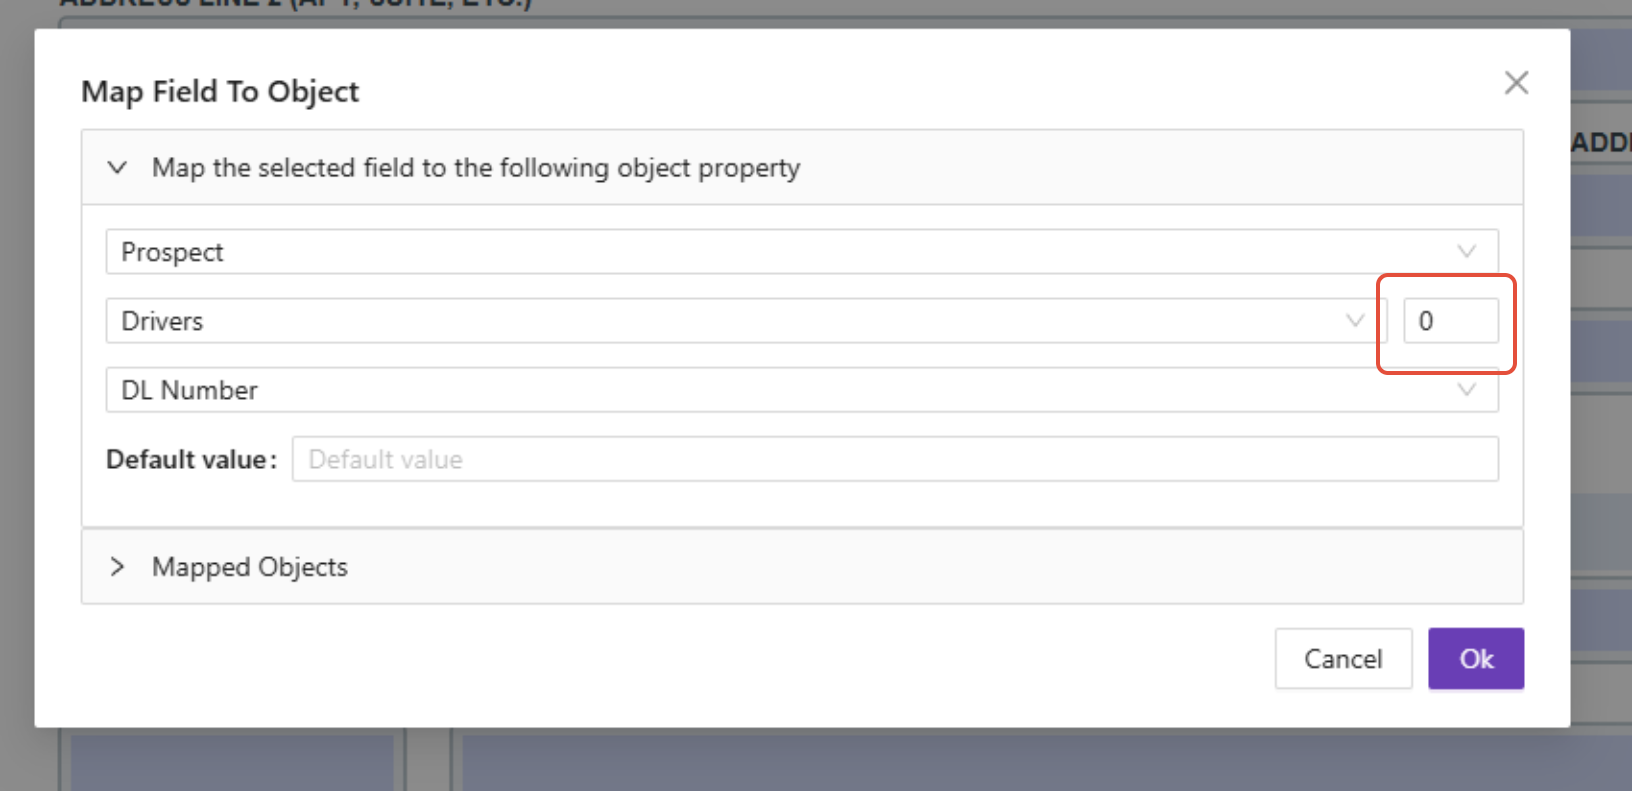
Every field belonging to the same driver or vehicle must use the same index.
Example for Driver 1:
- Drivers → 0 → Name
- Drivers → 0 → Date of Birth
- Drivers → 0 → Driver License Number
If the next section is Driver 2:
- Drivers → 1 → Name
- Drivers → 1 → Date of Birth
- Drivers → 1 → Driver License Number
(Insert Screenshot)
Saving Your Mapping
After all fields have been mapped:
- Scroll to the bottom of the page.
- Click Update.
Your Reverse PDF Form is now ready to receive submitted data.
Tips & Best Practices
✔ Map fields from top to bottom.
✔ Verify each mapped field changes from light blue to purple.
✔ Use descriptive custom field names whenever possible.
✔ Keep Prospect and Insured mappings consistent.
✔ Verify all indexed fields use the correct driver or vehicle number.
✔ Save frequently if working on a large form.
Frequently Asked Questions
Why didn't my field map?
Ensure the PDF field itself is fillable and that you selected the correct Momentum AMS field before clicking OK.
Why is my field still blue?
Blue indicates the field has not yet been mapped.
Mapped fields will appear purple.
What does Index 0 mean?
Momentum uses zero-based indexing.
- 0 = First Driver/Vehicle
- 1 = Second Driver/Vehicle
- 2 = Third Driver/Vehicle
Can I map custom fields?
Yes.
Select Custom Fields as the data source, then choose the appropriate custom field.
Your Reverse PDF Form has now been mapped and is ready for use. The final step is making the form available to your users by embedding it on your website or creating an internal link for Momentum users.
➡️ Embedding Reverse PDF Forms on Your Website
Was this article helpful?
That’s Great!
Thank you for your feedback
Sorry! We couldn't be helpful
Thank you for your feedback
Feedback sent
We appreciate your effort and will try to fix the article